The Approximately Monthly Zoomer
A Giant Leap-S1 for Mankind
2024-04-08
Hardware hacking has always been a little scary for me. Mostly because opening and disassembling hardware would sometimes render it unusable due to my low dexterity stat - much to the dismay of those who still wanted to use the device and couldn’t appreciate the immeasurable amount of invaluable knowledge that stands to be gained from dissection. Nonetheless I’ve recently decided to dip my toe into some hardware hacking again.
The Target
The Leap-S1 is an android tv box which uses the Amlogic S905X2 SoC
with an ARM Cortex-A53, can output in 4k60Hz, has 2GB of RAM and 8GB of
flash. Like all android tv boxes it comes with a lot of Goolag bloat
that is neither necessary nor privacy-friendly. So how about we install
something else on it, like coreelec,
since android is basically linux anyway. The adb shell on
the box doesn’t really have lots of permissions to poke around. Maybe
there is a uart connector somewhere that we could use to get a shell
with more privileges.
What’s in the Booox?
Warranty void stickers are a meme anyway so let’s open the box and see what’s inside.
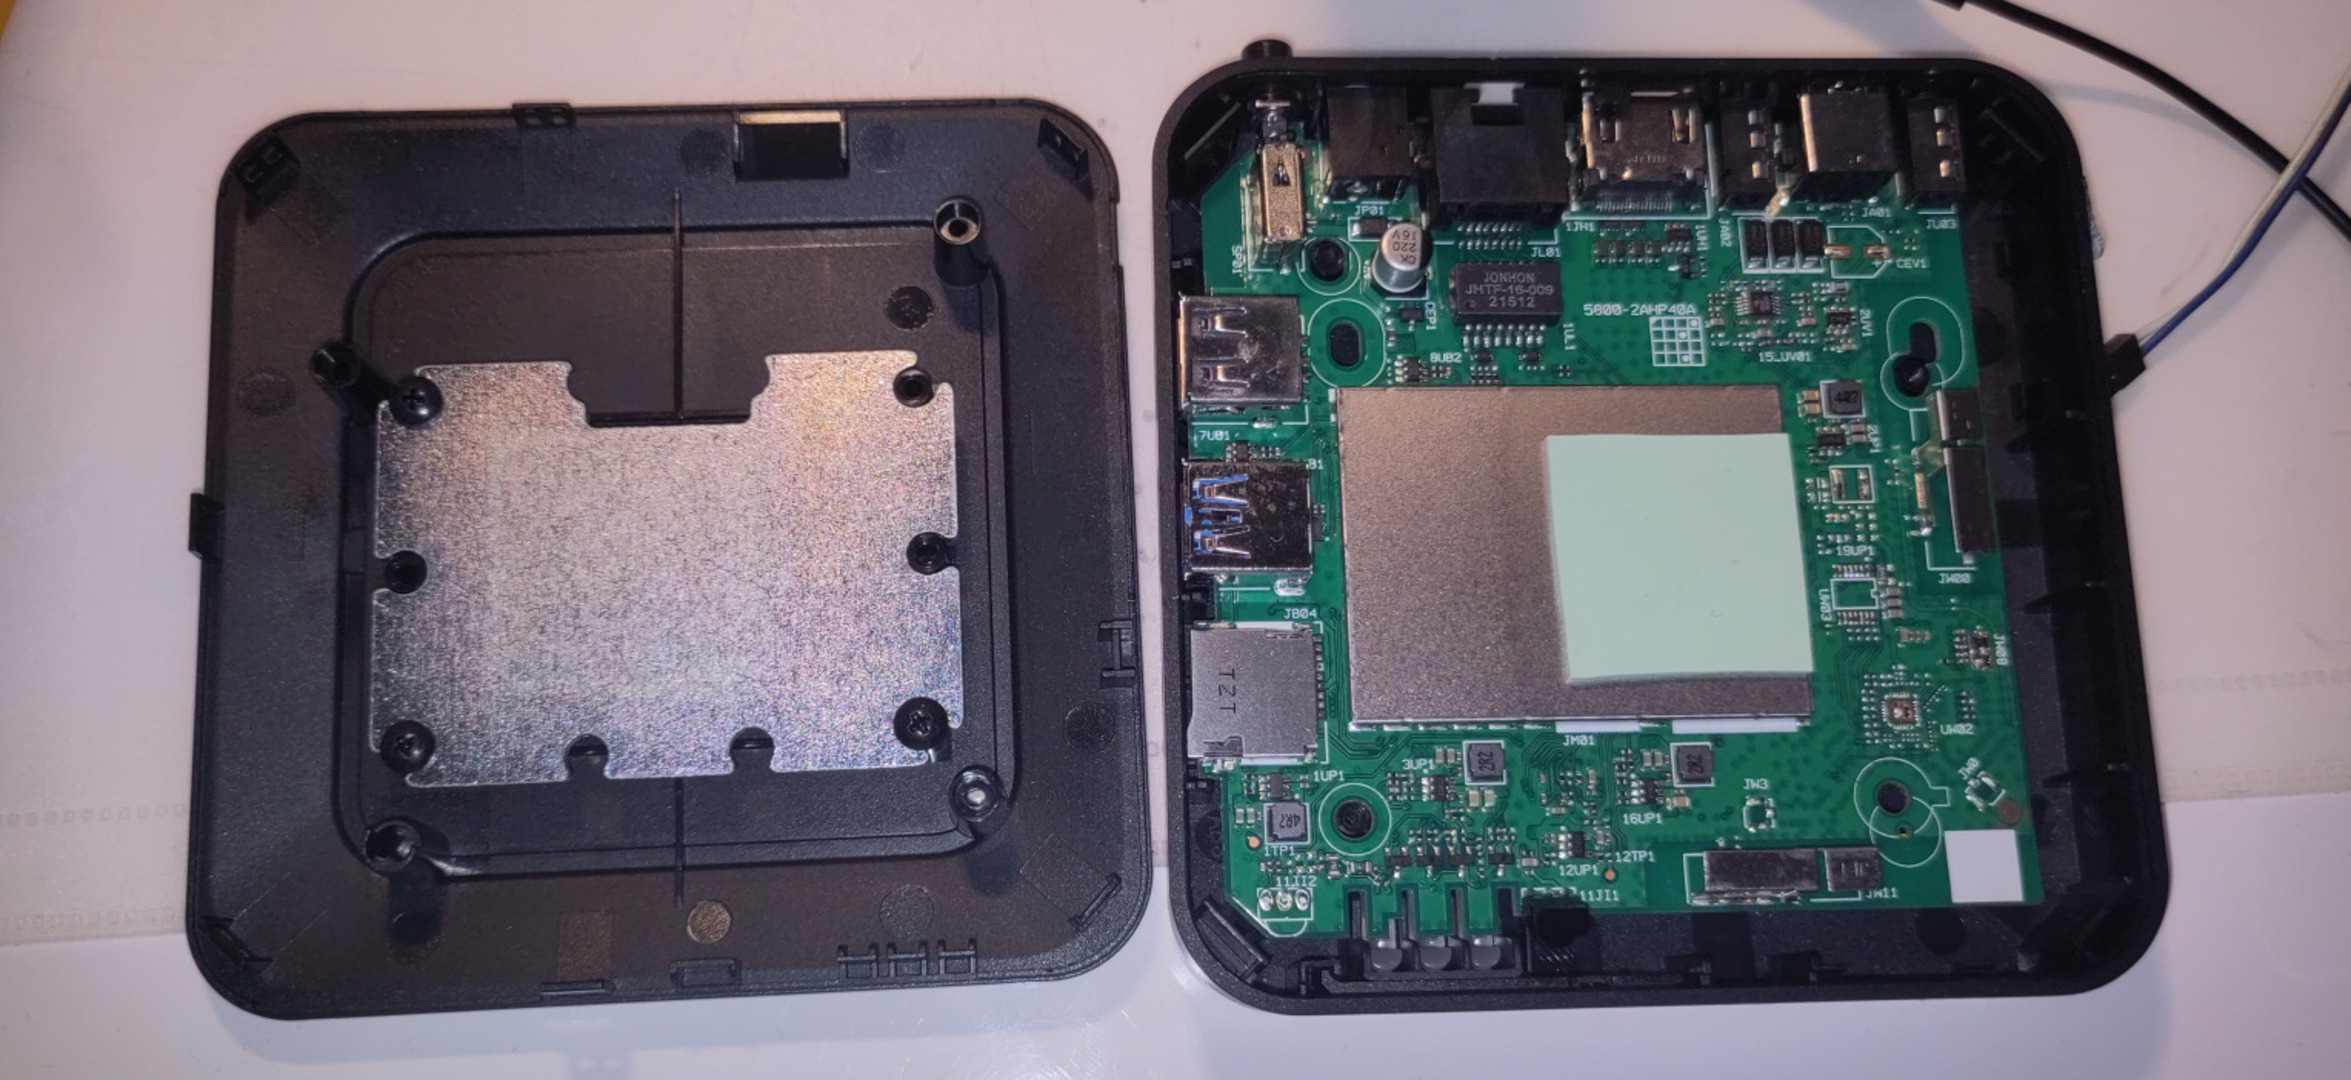
No obvious uart connections. Let’s check the bottom.
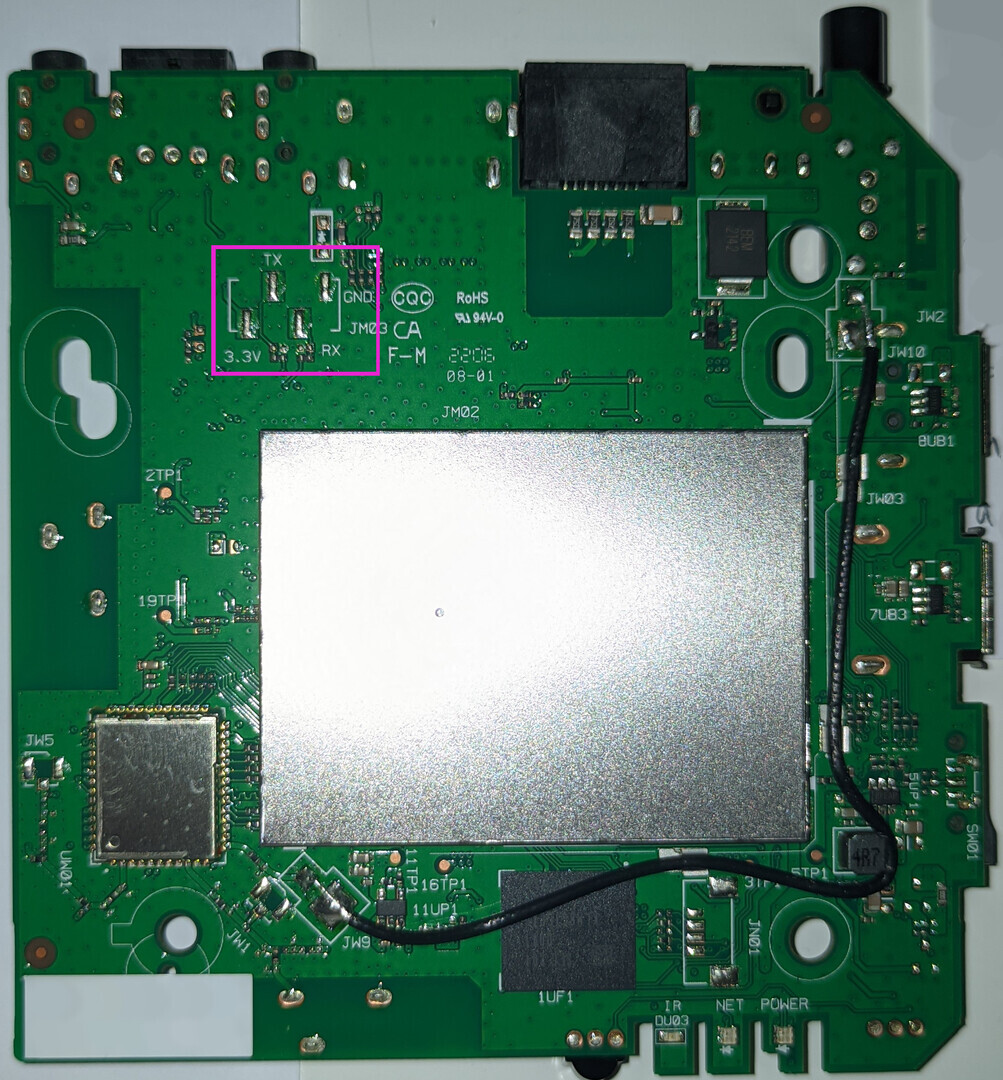
Bingpot! That’s as clear a uart as you can get but let’s make sure by identifying the pins.
UART
The GND pin is unsurprisingly connected to the ground, as can easily be checked with a multimeter in continuity mode. Again with a multimeter we can check the other pins while the box is booting and we’ll see that while 3.3V and RX stay at the same voltage throughout the boot process, the voltage on the TX pin fluctuates around 2V. Realistically, there is no way this is anything other than uart, but just to double-check and find out the baud rate, we can connect the TX pin to an oscilloscope and see what’s going on there.

We can see that the shortest pulse is around 8.7μs and if we want to
be a little more precise we can measure the length of a few pulses and
divide by how many of those shortest pulses fit inside the whole. Here I
measured the length of ten bits - from left to right we can see that the
bits are 0110110001. The cursors of the oscilloscope are positioned at
the beginning and at the end of the sequence and the oscilloscope tells
us, that it takes 86.8μs for all ten bits - which is 8.68μs per bit. We
can now take the reciprocal 1/(8.68*10^-6) and this gives
us a frequency of 115207Hz, which we also get by multiplying the
11.52kHz displayed underneath the time measurement on the oscilloscope
by ten. Baud rates are not arbitrary, there is only a set of predefined
speeds for serial communication, so even if your oscilloscope is not the
most precise, we can still get an idea of what baud rate is being used
by looking at the closest possible rates. Our calculated speed is too
fast for 76800 and too slow for 128000 and pretty much dead-on for
115200.
Chinesium Arduinos
If you short the reset and ground pin of an
arduino, you can use it as a “dumb” USB to TTL converter. Just hook up
RX to RX and TX to TX and you have yourself an adapter. This
should also work with the arduino clones that use a CH340
series chip but it didn’t work for me. Before buying some sort of UART
to USB adapter, I thought I’d check if I have some other
microcontrollers and as it turned out I had an ESP8266-based NodeMCU
(not sure if knockoff or not) which also used a CH340 chip. Not giving
it much thought I tried the same thing - short reset to ground, TX to
TX, RX to RX, ground to ground.
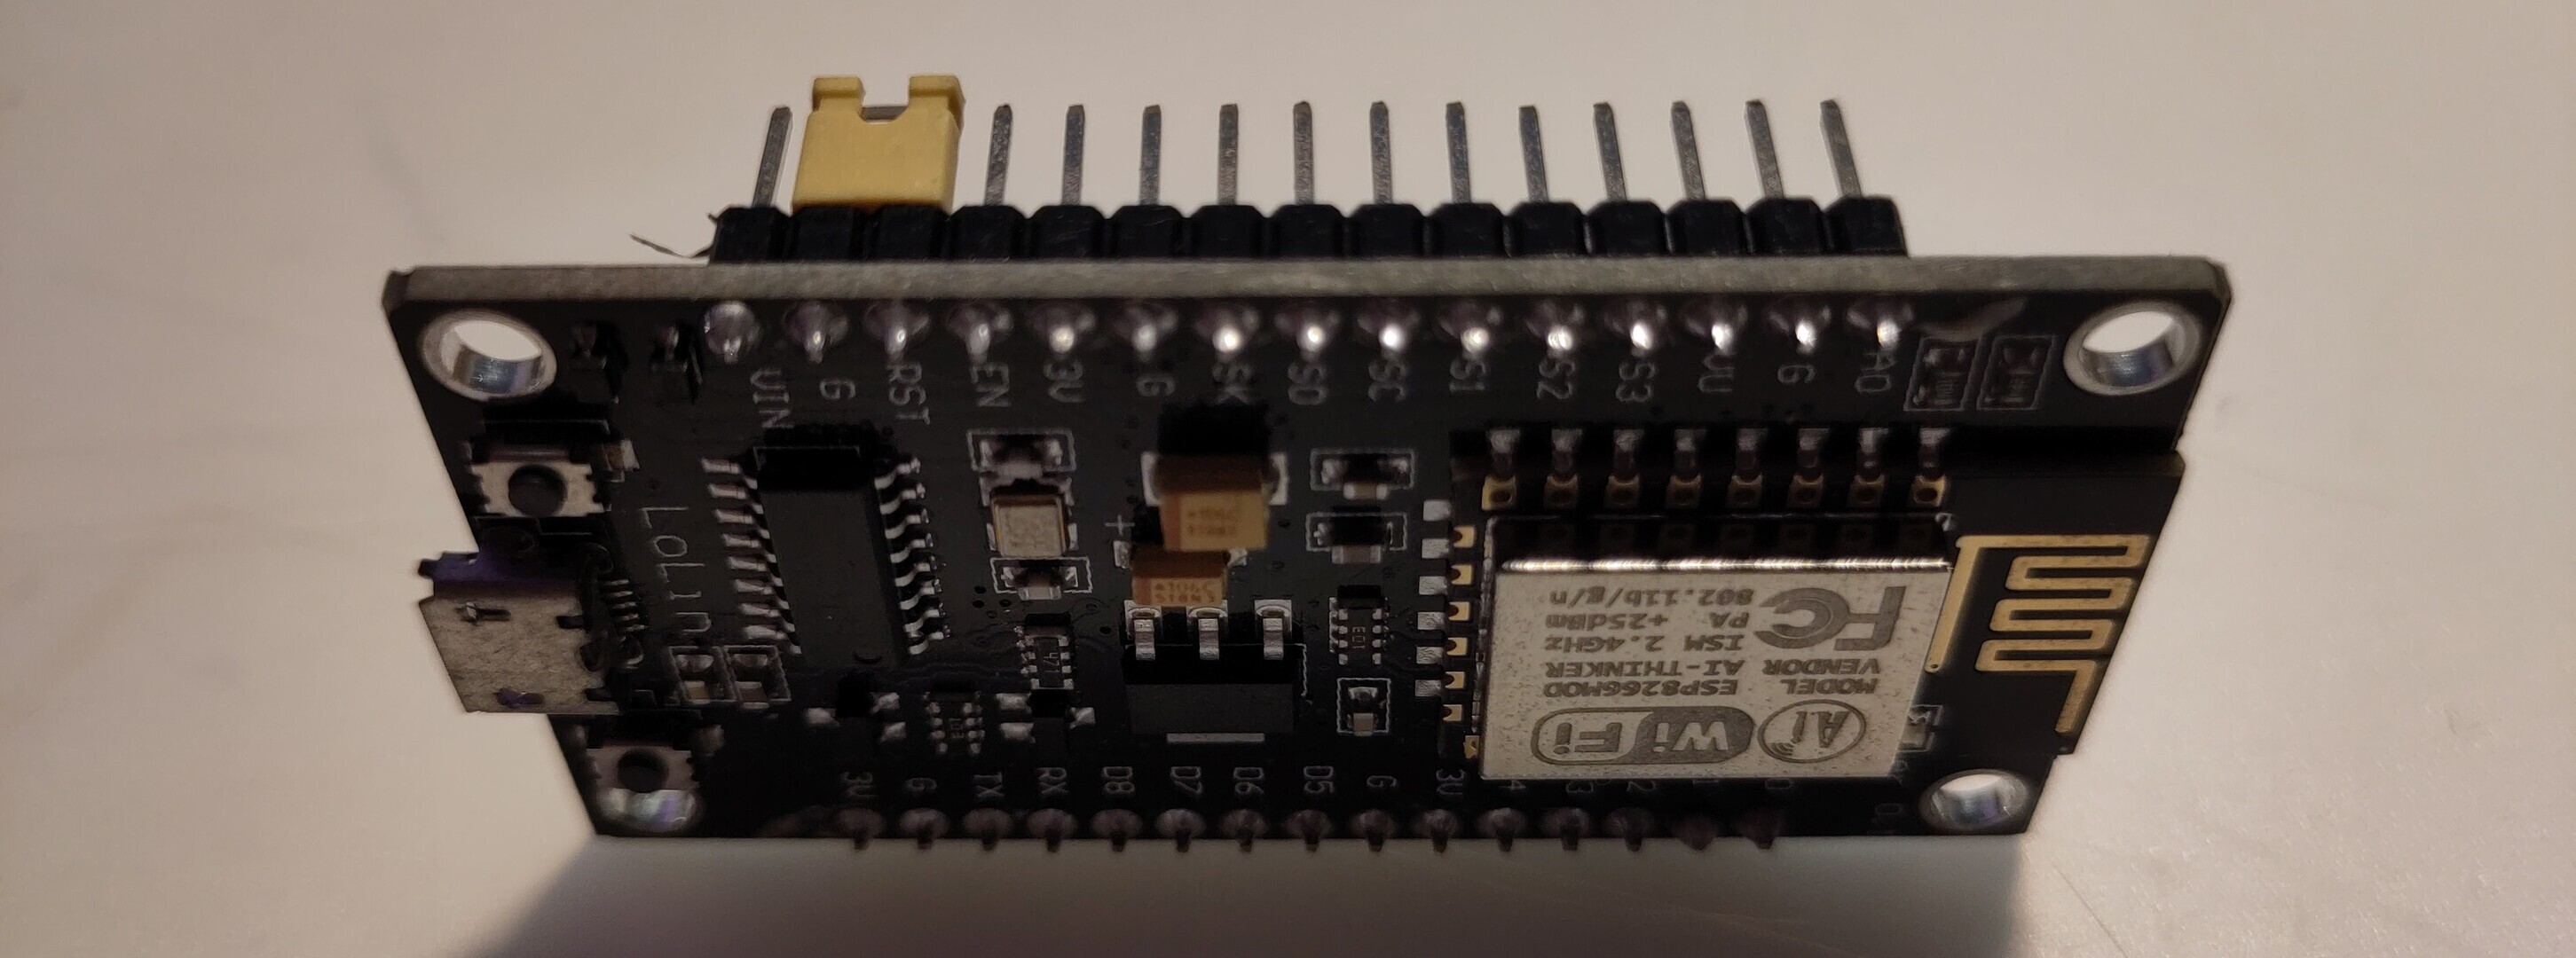
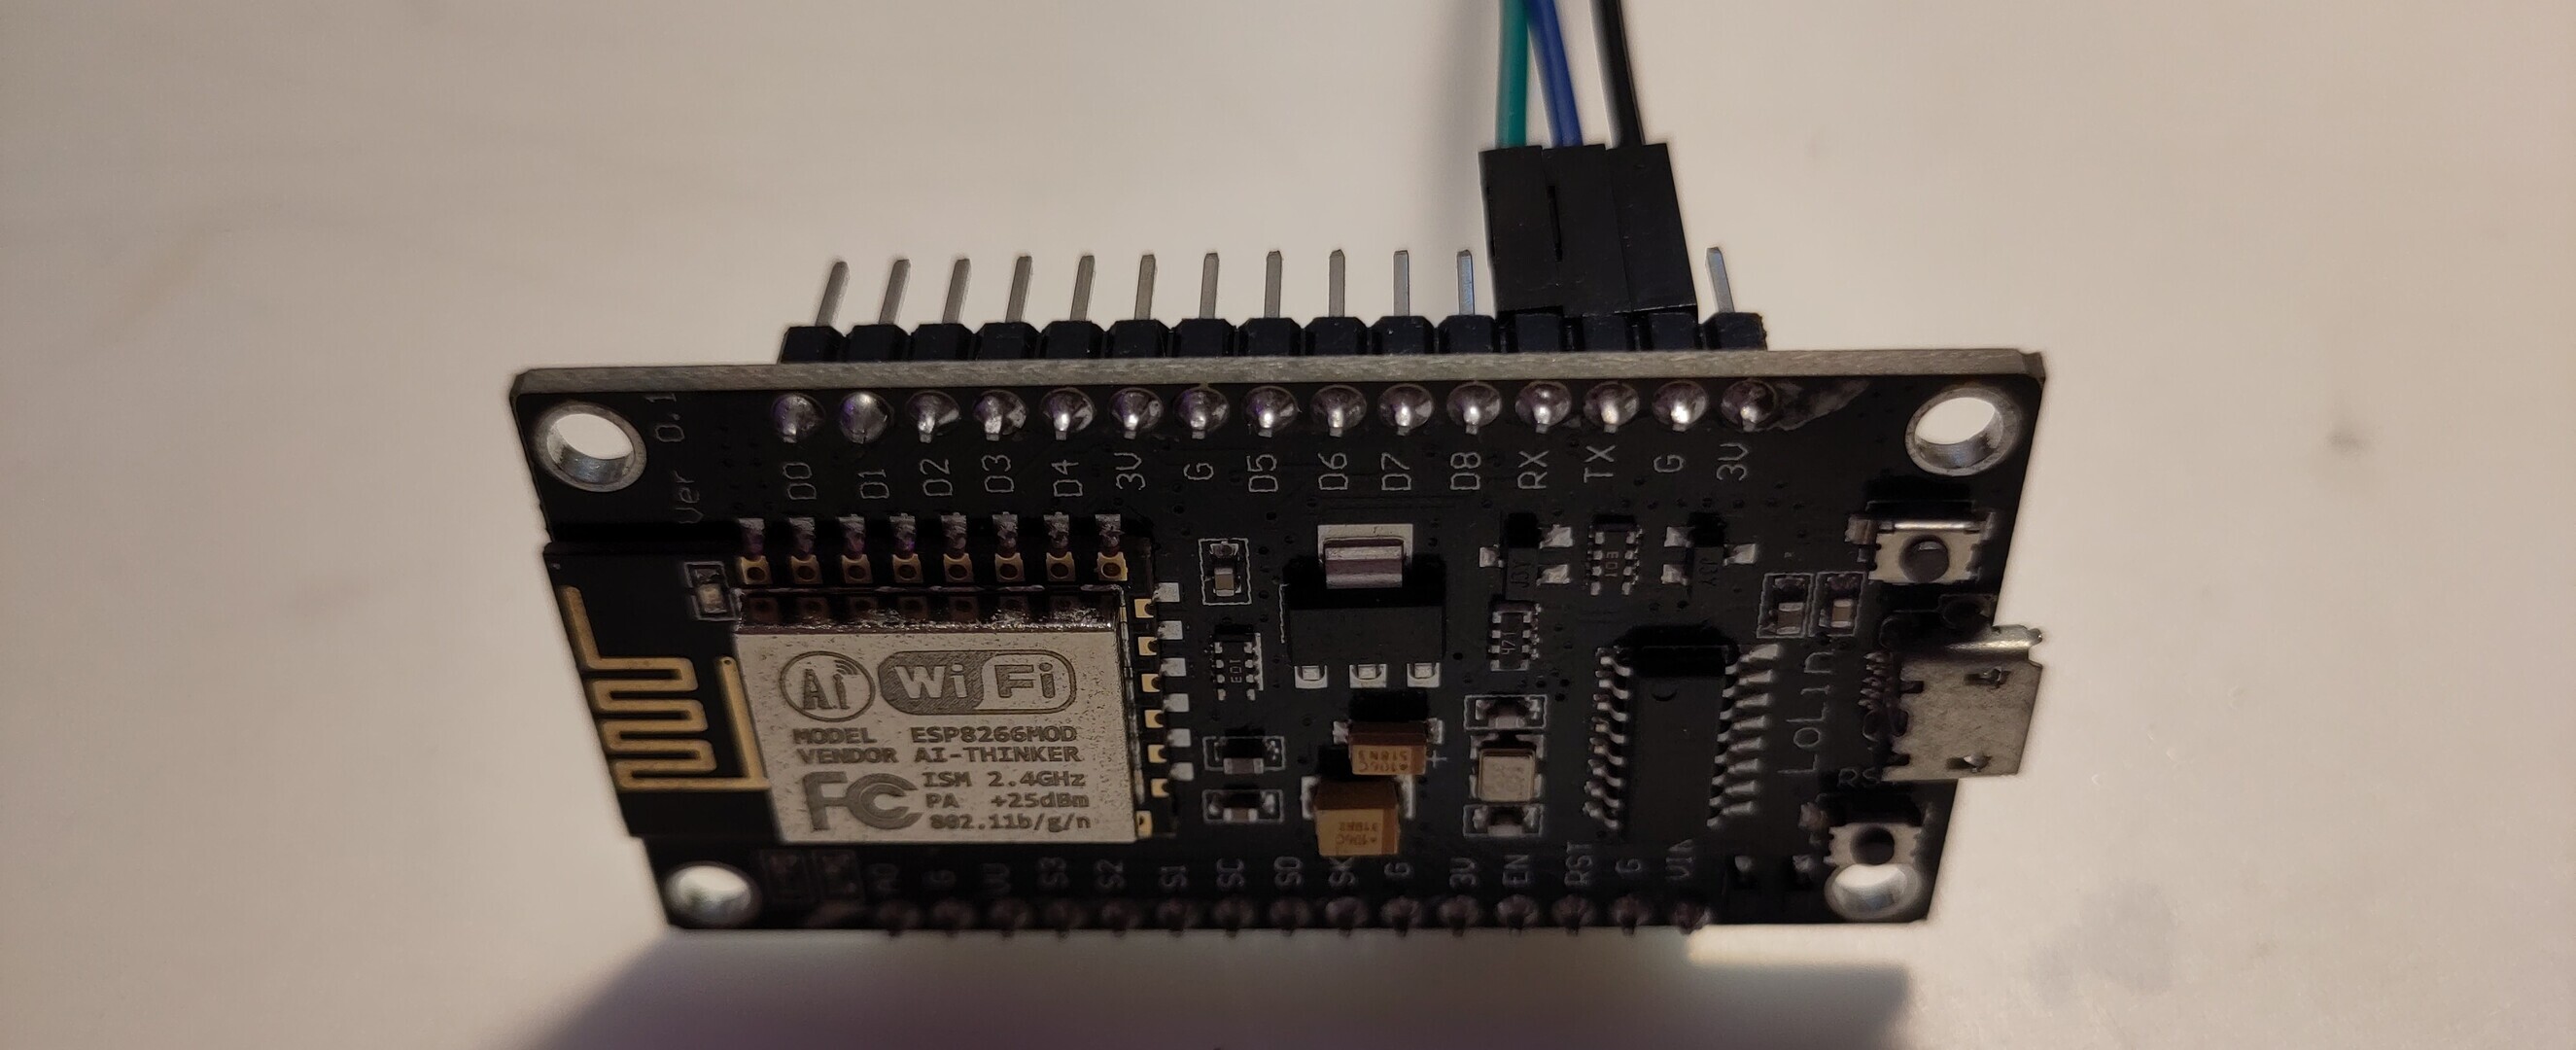
I plugged in the NodeMCU, started my serial communication program
with picocom -b 115200 -r -l /dev/ttyUSB0, powered on the
android tv box, and to my sheer delight there was a bootlog flying
across my terminal!
Field Programmable Google AndroidTV
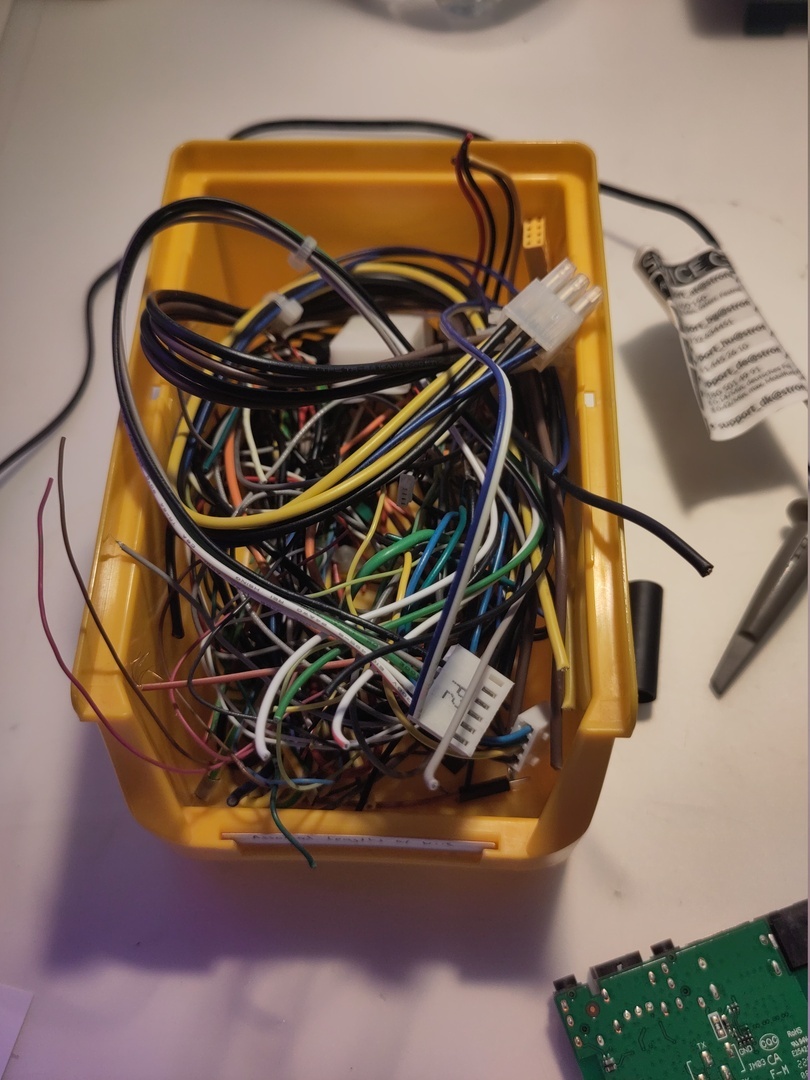
To make it a little easier to connect to the uart interface I wanted to solder some sort of cables or connector to the exposed pads. Luckily I have a drawer with Assorted Lengths of Wire™ for just such occasions!
I soldered the wires to the TX and RX pins, wrapped them around the board and made a hole in the case with a soldering iron.
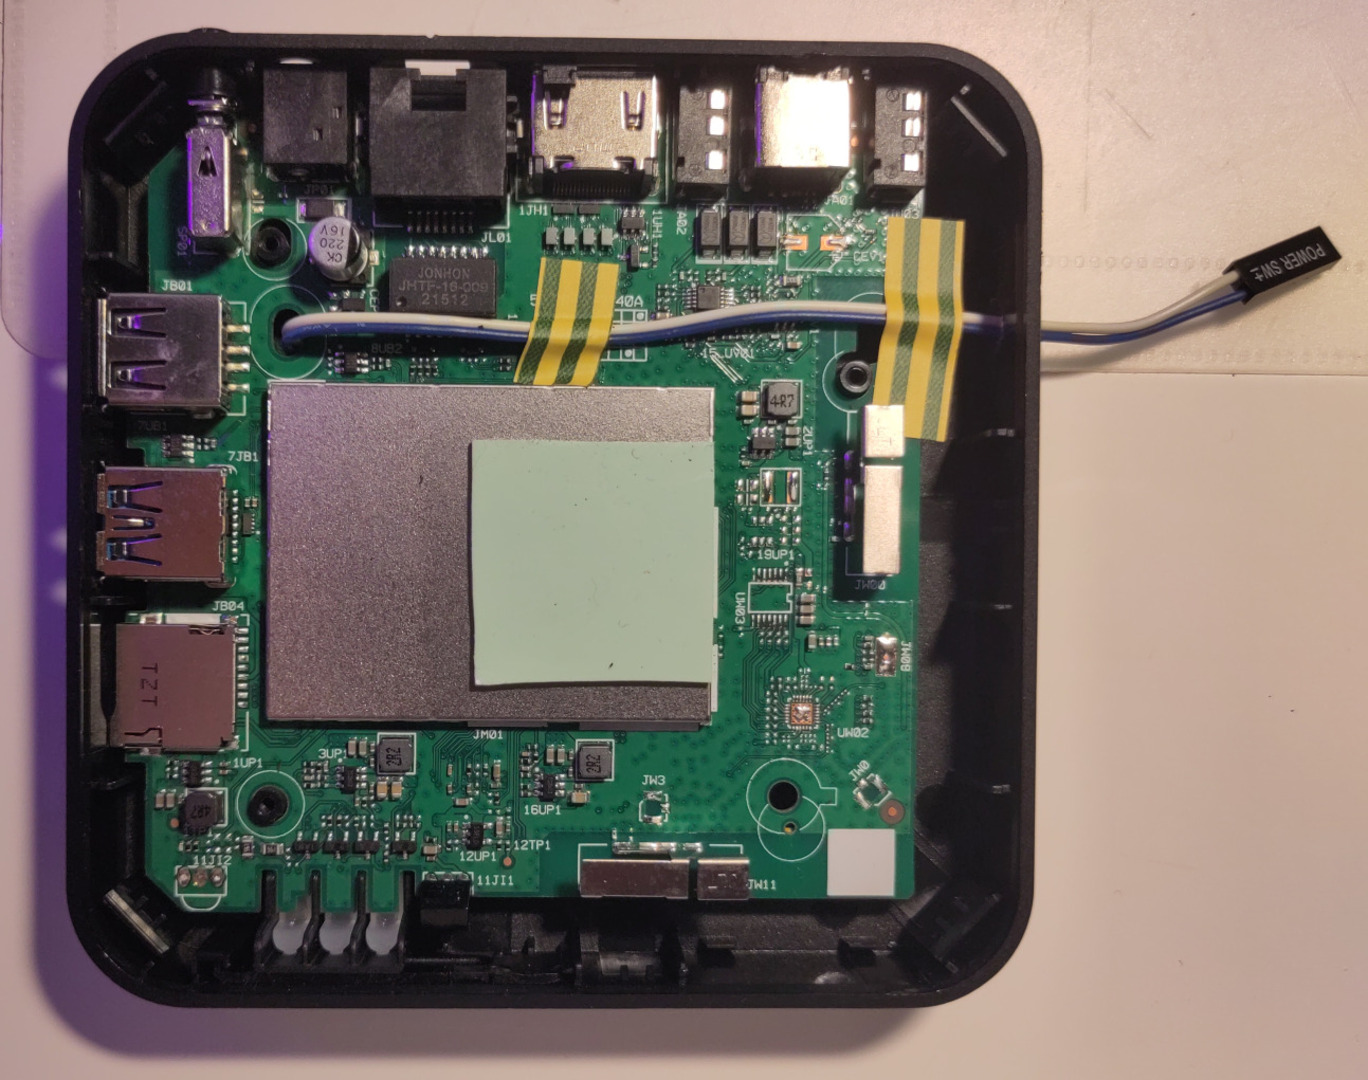
Slap the bottom of the case back on that bad boy and we can access the uart “in the field” any time we want.

I forgor 💀
Since I just used some exposed metal as ground when I was investigating the board with my oscilloscope, I totally forgot to add a ground wire as well. Luckily ground is shared by all components and connectors so I just used an old 3.5mm audio cable and cut it open so I can use its ground when connecting using uart.
No Shell? 🥺
Starting kernel ...

uboot time: 7182164 us
It seemed like the boot process was completed and the kernel was loaded, surely that means we have an interactive shell now, right? Not really. It didn’t look like I could interact with the box over uart while it was booting at all - so what do we do now?
Inspecting the Bootlog
One section in particular caught my eye.
USB0:   USB3.0 XHCI init start
Register 3000140 NbrPorts 2
Starting the controller
USB XHCI 1.10
scanning bus 0 for devices... 1 USB Device(s) found
    scanning usb for storage devices... 0 Storage Device(s) found
** Bad device usb 0 **
[sk_usb_cfg_init,422]load file "/skyworth/factory_mode/uboot/check_udisk.cfg" from u disk failed!
[sk_boot,182]general boot.
It caught my eye because the file path was literally red! Apparently
the bootloader looks for a specific file on a USB drive. Poor
bootloader, let’s give him the file. If we add
boot_mode="boot flash recovery" to the file we can even
make it boot into recovery mode.
Pop Pop!
It looks like the bootloader liked our file.
USB0:   USB3.0 XHCI init start
Register 3000140 NbrPorts 2
Starting the controller
USB XHCI 1.10
scanning bus 0 for devices... 2 USB Device(s) found
       scanning usb for storage devices... init_part() 282: PART_TYPE_DOS
1 Storage Device(s) found
33 bytes read in 36 ms (0 Bytes/s)
[sk_boot,220]boot recovery from flash.
We’ve successfully booted into recovery mode and we even have a shell with a nice looking number sign.
# id
uid=0(root) gid=0(root) groups=0(root) context=u:r:shell:s0
Indeed, we are root and found a good place to start our recon and here’s what I’ve found after a very uncoordinated and brief attempt:
BusyBox v1.22.1 staticis installeduname -asaysLinux localhost 4.9.180 #1 SMP PREEMPT Mon Mar 14 11:08:10 CST 2022 armv8l- U-Boot version is
2015.01
I’m sure I’ll find the motivation to keep digging soon. It can only be a matter of months.
